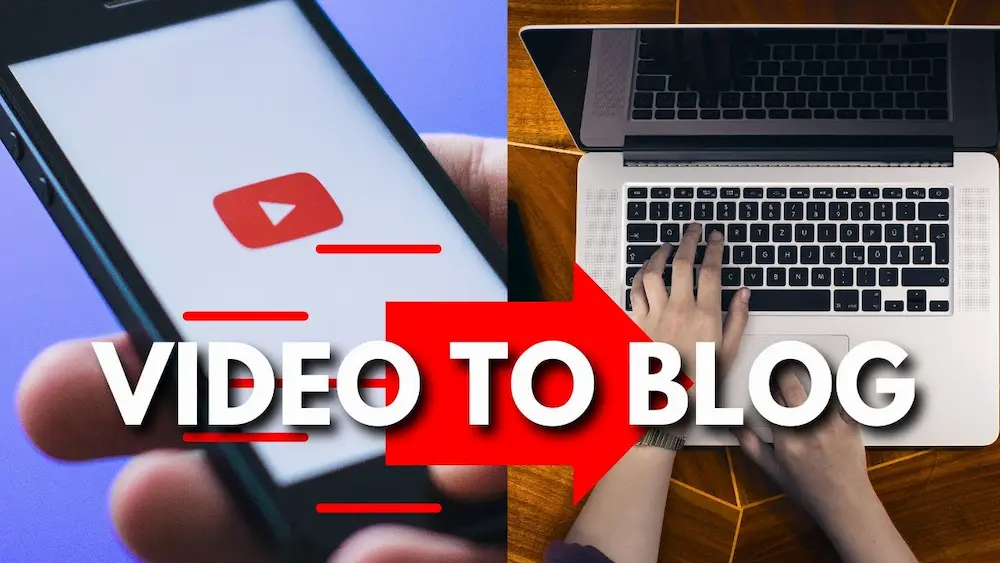
Transform YouTube Videos into SEO-Optimized Blog Posts

Creating content across multiple platforms can be a time-consuming task. However, converting a YouTube video into a blog post can be done quickly and efficiently by following a few simple steps. This guide will walk through the process, making it easy to repurpose video content into written form.
Step-by-Step Guide
Step 1: Select a YouTube Video
First, choose a video to convert. For this example, we’ll use a video titled “Three Things to Think About Before You Buy Video Gear.” Navigate to the video and pause it.
Step 2: Access the Transcript
YouTube automatically transcribes videos. To access the transcript:
- Click on the three dots below the video.
- Select “Show transcript.”
- The transcript will appear alongside the video.
Step 3: Remove Timestamps
By default, the transcript includes timestamps. To remove them:
- Click on the three dots in the transcript window.
- Select “Toggle timestamp.”
Step 4: Copy the Transcript
Copy the entire transcript text. This can be done directly from YouTube, but there’s an even faster method.
Step 5: Use a Transcript Extraction Tool
Use a tool like YouTube Transcript.
- Copy the video’s sharing link.
- Paste the link into the YouTube Transcript site.
- Click “Go” to generate a clean transcript.
- Copy the entire transcript.
Step 6: Summarize with AI
Use an AI tool such as Bard to summarize the transcript into a blog post format. This is a great time to leverage video to blog AI tools to streamline the process.
- Paste the transcript into Bard.
- Instruct Bard to summarize it for a blog post.
- Review the generated drafts and choose the most suitable one.
Step 7: Export to Google Docs
If using Bard, export the summarized content directly to Google Docs:
- Use a Google account to access Bard.
- Export the draft to Google Docs.
Step 8: Edit the Blog Post
Refine the content:
- Change the title to something appropriate, such as “Three Things to Think About Before Buying Gear.”
- Read through the AI-generated text and make necessary edits.
- Add personal touches or additional information as needed.
Step 9: Prepare for Publishing
Depending on your web provider, the steps may vary slightly. For those using Payhip, WordPress, or Squarespace:
- Copy and paste the final content into a new blog post on your site.
- Format the title correctly.
- Clean up any remaining formatting issues.
Step 10: Add Multimedia
Enhance the post with multimedia elements:
- Embed the original YouTube video.
- Copy the embed code from YouTube.
- Insert the video into the blog post using your site’s embedding feature.
- Add a thumbnail image.
- Use a tool like Canva to create and save a thumbnail.
- Upload the image to your blog post.
Step 11: Publish and Review
Publish the blog post and review it on your website to ensure everything appears as intended. Check for formatting, embedded video functionality, and image display.
Conclusion
By following these steps, you can efficiently convert a YouTube video into a blog post, maximizing your content reach and engagement. This method not only saves time but also helps maintain a consistent presence across multiple platforms. Keep creating because the world needs your content!
For those looking to enhance their SEO efforts, leveraging tools that can facilitate the video to blog process is invaluable. This approach can significantly benefit SEO Blogs SaaS by providing streamlined and optimized content creation solutions.
If you’re ready to take your content creation to the next level, consider using VidToBlogs. With VidToBlogs, transforming your viral YouTube content into SEO-optimized blog posts has never been easier. Try VidToBlogs today and see the difference it can make for your SaaS business.